Good Evening Bloggers:
Today
we are releasing the 2nd set of cards from Linda from our Design
team. This card along with the other projects are hanging up on the
wall
to the right of the door as soon as you walk into Scrapper's Playground.
Our Design Team is doing an awesome job on these projects and have
inspired others to think outside the box! Please feel free to ask any
of our Staff for information on the
products that were used on these projects.
Cards by Linda
Smile
Supplies:
Bazzill Card Shoppe Cardstock
My Mind's Eye Cut & Paste 6x6 pattern paper
My Mind's Eye Cut & Paste -- Adorbs -- Clear Acrylic Stamps -- Loved
Doodlebug Design Cardstock Stickers -- Quotes -- Fruitstand Collection
VersaMark Ink
Tim Holtz Distress Ink (Shabby Shutters)
Clear Embossing Powder
Fancy Trims by Petaloo
Wink of Stella Brush Pen (clear)
White Signo Gel Pen
Glossy Accents
The
inspiration for this card came from the adorable Doodlebug quote
stickers. When I saw all of the different speech bubbles, I knew I
wanted that to be the theme of my card. To create this card, I cut an A2
card with a top fold from the bright green cardstock. I then cut
another panel to measure 4" x 5.25". Using VersaMark ink, I randomly
stamped the two speech bubbles from the Loved stamp set. I sprinkled
with clear embossing powder, zapped it with my heat tool and set it
aside.
Next, I
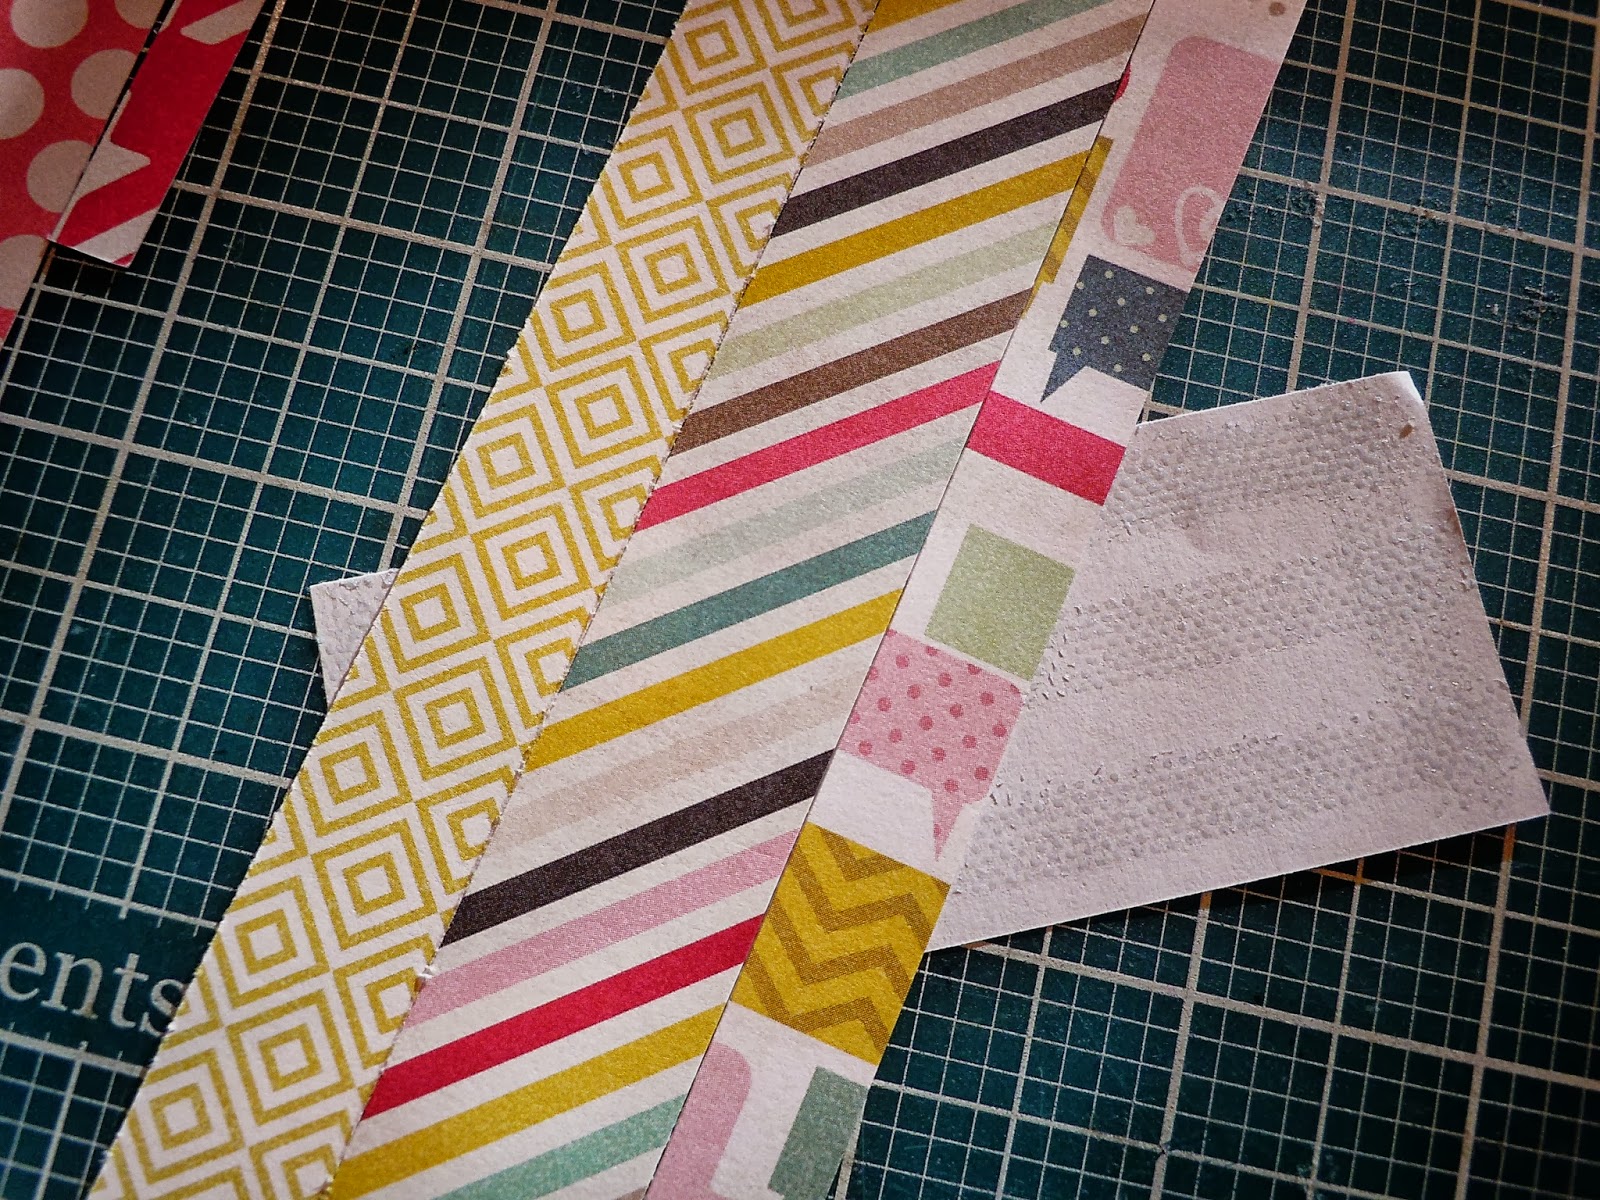
cut a number of strips of pattern paper with widths varying from 3/8"
to 3/4". (By keeping my widths narrow, I ensured that I have enough
pattern paper left to cover a card front. You can also use leftover
scraps for this technique.) I took a piece of scrap computer paper and
cut it down to 2" x 4". I covered one side of the computer paper
completely with adhesive and then layered the strips on a diagonal. When
the entire surface was covered, I flipped it over and trimmed the
strips of paper. I used Tim Holtz Shabby Shutters distress ink to ink
the edges. This step is very important because it gives all of the
different papers a cohesive look. I adhered this to the bottom of the
stamped block. I used a piece of ScorTape to adhere the ribbon and foam
adhesive to adhere the panel to the card.
I added
sparkle to the "Smile" sticker with a Wink of Stella Brush pen. Love
this pen! Seriously, every card maker should have one (or two or three)!
To enlarge the sticker, I placed it on a piece of coordinating and
fussy cut around it. Then I used a Signo gel pen (my other favorite pen)
to add the white faux stitching.After popping the stickers on foam
adhesive, I added them to my card. Because the embossing made the card
surface slick, I added a squirt of Glossy Accents under each foam dot.
The inside sentiment reads: you are loved. I think this would be a fun
and cheery card to send to a teen who just went off to college.




This card is so cute and would make a great card to send to someone you haven't seen in a while!


